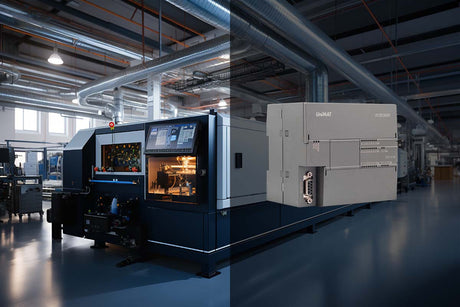
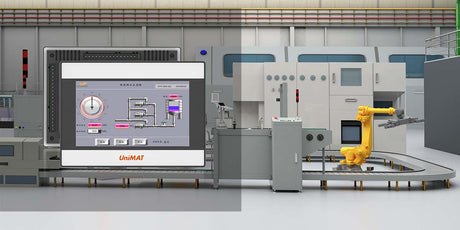
Stepper motors are essential components in automation systems,offering precise control over position and speed.When combined with a Programmable Logic Controller(PLC),they form a powerful duo for industrial applications.This guide explains how to control a stepper motor using a PLC controller,with a focus on practical implementation.We’ll also highlight Unimat PLC controllers—known for their 3-year warranty and free sample testing—to help you get started.

1.Why Use a PLC Controller for Stepper Motor Control?
PLC controllers are ideal for stepper motor control due to their reliability,flexibility,and adaptability.Here’s why:
Precision:PLCs generate accurate pulse signals to control motor steps,ensuring positioning accuracy.
Durability:Built for harsh industrial environments,PLCs resist electrical noise and temperature fluctuations.
Scalability:PLCs can manage multiple motors and integrate sensors(e.g.,encoders)for advanced automation.
2.Hardware Setup:Connecting a PLC to a Stepper Motor
Components Needed
PLC Controller:Choose a model with high-speed pulse outputs,such as Unimat UC300.
Stepper Motor Driver:Converts PLC signals into motor movement(e.g.,TB6600).
Power Supply:Matches the motor’s voltage and current requirements.
Shielded Cables:Minimize electromagnetic interference.
Step-by-Step Wiring Guide
PLC to Driver Connection
Connect the PLC’s pulse output(PUL+)to the driver’s PUL+terminal.
Connect the PLC’s direction output(DIR+)to the driver’s DIR+terminal.
Link the PLC’s common ground(COM)to the driver’s PUL-and DIR-terminals.
Driver to Motor Connection
Attach the driver’s A+,A-,B+,and B-outputs to the stepper motor’s corresponding coils.
Power Supply Setup
Provide separate power sources for the PLC and driver to avoid ground loops.
Safety Tip:Always disconnect power before wiring and refer to device manuals.
3.PLC Programming for Stepper Motor Control
Step 1:Configure Pulse Outputs
Using the PLC’s programming software(e.g.,Unimat U-Programmer):
Set the pulse frequency to control motor speed.For example,a 1 kHz frequency drives a 200-step motor at 300 RPM.
Define the direction signal(HIGH=clockwise,LOW=counterclockwise).
Step 2:Write Control Logic
A simple ladder logic program might include:
A pulse generator block to send pulses to the motor driver.
A direction control bit to set rotation direction.
Step 3:Test and Calibrate
Simulate the program to verify pulse generation.
Adjust the driver’s microstepping settings for smoother motion.
4.Troubleshooting Common Issues
Motor Doesn’t Move
Check PLC output status lights.
Ensure the driver receives sufficient power.
Inconsistent Positioning
Increase the driver’s current output.
Add acceleration/deceleration profiles in the PLC program.
Signal Interference
Use shielded cables and separate power lines for PLC and motor circuits.
5.Why Choose Unimat PLC Controllers?
For reliable and cost-effective automation,Unimat UN300 Series PLC controllers stand out:
Key Features
3-Year Warranty:Industry-leading coverage for long-term peace of mind.
Free Sample Testing:Test the PLC in your system before bulk orders.
High-Speed Outputs:Supports up to 100 kHz pulses for precise control.
User-Friendly Software:Intuitive programming tools with technical support.
Applications
Packaging machinery
CNC equipment
Laboratory automation

Conclusion
Controlling a stepper motor with a PLC controller is straightforward with the right hardware and programming.By following this guide and opting for Unimat PLC controllers—with their 3-year warranty and free sample testing—you can achieve precise,reliable automation for your projects.
Ready to Start?Visit Unimat’s website to request a free PLC sample and technical documentation today!


